There are a few ways to handle sprites in HaxeFlixel.
By default, if you call loadGraphic on a FlxSprite, and set the animated parameter to true, then it will automatically split the loaded graphic up into separate frames based on the width and height parameters.
You can then setup animations for this sprite by referring to the frame ids:
animation.add(“walk”, [0, 1, 2, 3], 12);
This is the simplest way to do this, and works fine for small games or simple graphics. However, this might not be the most ideal way to handle this. If you have lots of sprites, or sprites with lots of animations for different states, or even if you have a lot of icons for UI - there’s a better way.
Texture Packing
Consider this:
Your game has a sprite with a LOT of animation frames.
You have a sprite that has frames for “idling”, “walking”, and “jumping”, and they are all separate files for each frame, and different sizes.
Sure, you can open up your image editor, make a giant image, and place each frame in the file so that you end up with frames of the same size for each frame, and load them like you do above, and set up your animations by remembering the frame numbers, but a simple drag-and-drop tool can do this for you!
ShoeBox is a free collection of various tools that are helpful for game development.
For this tip, we’re going to be talking about the Sprite Sheet tool.
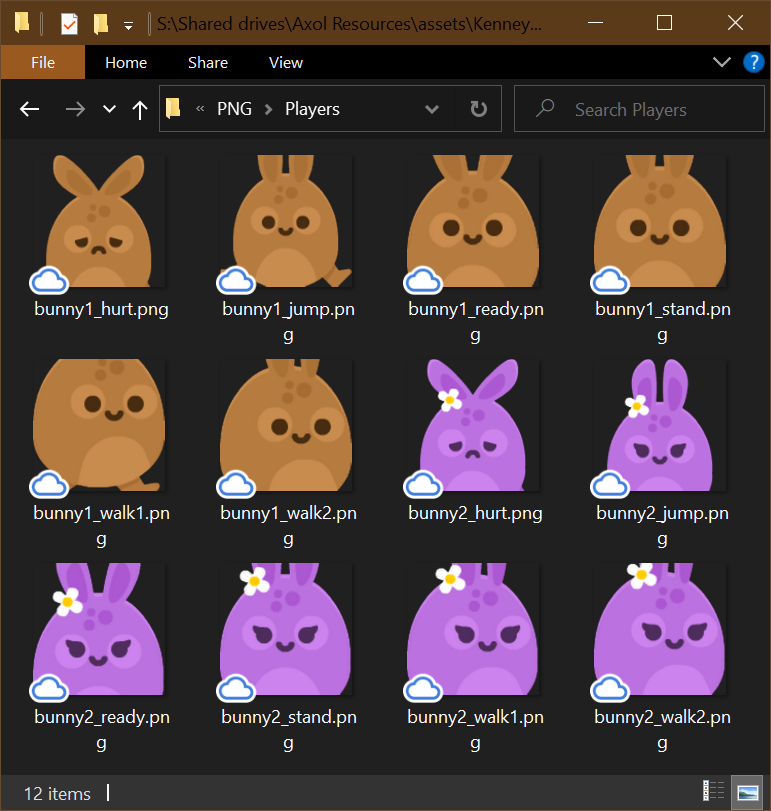
Here are some sprites. There are 2 ‘styles’, “bunny1” and “bunny2”, and they each have a “hurt”, “jump”, “ready", “stand” and 2 “walk” frames.
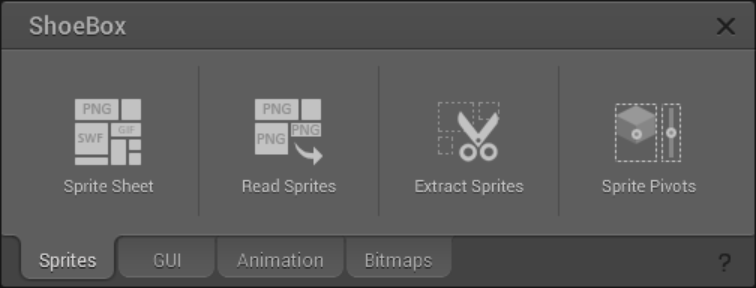
If you just open up ShoeBox, you’ll see all the tools as large icons (and split into tabs).
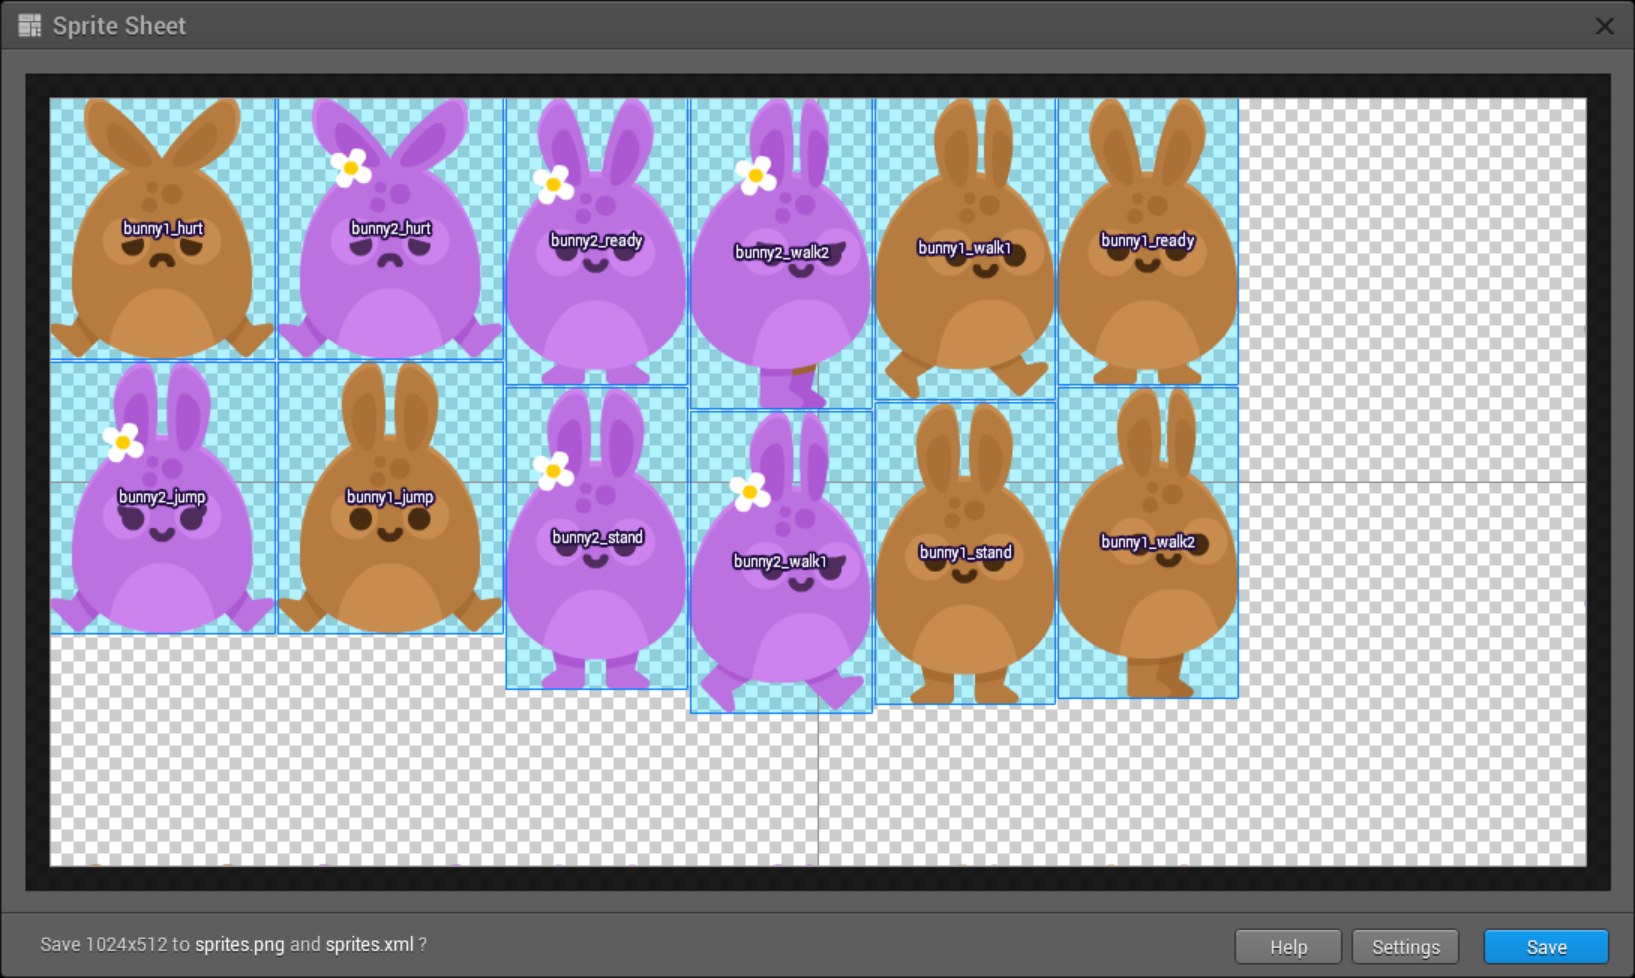
All you need to do is select all the sprites from your folder, and drag them onto the Sprite Sheet Icon.
You’ll get a preview for the sprite sheet (this is using the default settings, I’ll show you the settings I tend to use later). You can hit “Save” and 2 new files will be created: a “sprites.png” file that is the packed images, and a “sprites.xml” which is the sprite definitions in the file.
Implementing the Sprites
Next, you want to put these files into your HaxeFlixel project. Rename them to something useful (“bunny.png” and “bunny.xml” work fine in this example) and drop them into your assets/images folder.
There are a few ways to load these frames into your sprite. A simple way is like this:
class Player extends FlxSprite
{
 public function new():Void
 {
  super();
  frames = FlxAtlasFrames.fromSparrow(“assets/images/bunny.png”, “assets/images/bunny.xml”);
 }
}
Now, what’s super useful is that the frames will all be named based on the id that is in the XML file: which is the name of the file that was packed.
For example, if you want to set the sprite’s current frame to the standing frame, you just have to say:
animation.frameName = “bunny1_stand.png”;
But we want to actually make these into animations - and we have an animation that has multiple frames.
Here’s the trick for that:
animation.addByPrefix("brown-walk", "bunny1-walk");
Will create an animation named “brown-walk” that uses all of the frames that start with “bunny1-walk” from your XML file, in order.
We can do this for all the states if we want:
animation.addByPrefix("brown-hurt", "bunny1-hurt");
animation.addByPrefix("brown-jump", "bunny1-jump");
animation.addByPrefix("brown-ready", "bunny1-ready");
animation.addByPrefix("brown-stand", "bunny1-stand");
animation.addByPrefix("brown-walk", "bunny1-walk");
This will make a new animation regardless of how many frames you have that start with the prefix.
There are other helpful addBy functions that will give you more control over your animations, if you need them.
See how simple and useful that is? You can start to use this to your advantage in any kind of game.
For a small game, you can pack all your sprites into a single file, load the image once, and use the frames from that file for all your sprites.
You can have sprites with hundreds of frames of animation for each state and simply add them all to your game with a quick drag-and-drop.
Settings
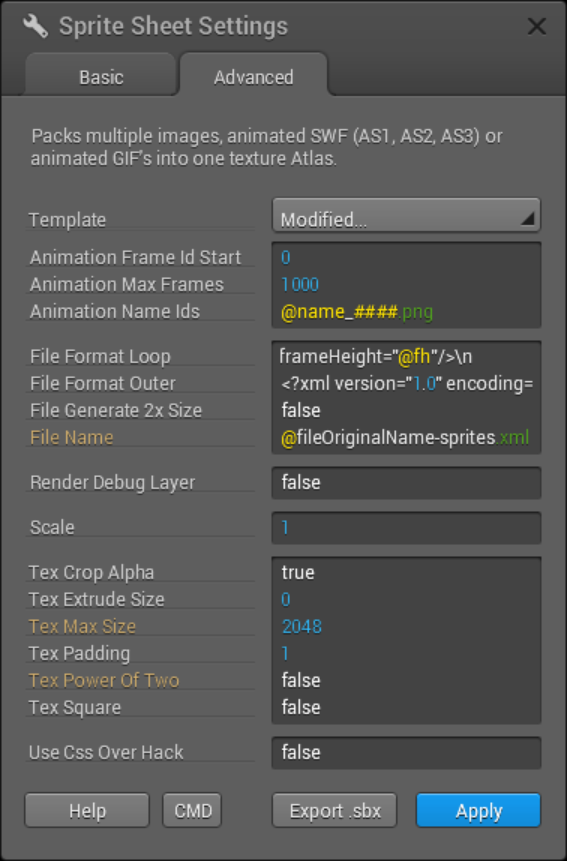
There are some settings available in the Sprite Pack tool that I like to use. You might want to play around with these to figure out what’s best for your projects.
Right-click on the tool’s icon to bring up the settings panel.
For File Format Loop, I have:
\t<SubTexture name="@id"\tx="@x"\ty="@y"\twidth="@w"\theight="@h" frameX="-@fx" frameY="-@fy" frameWidth="@fw" frameHeight="@fh"/>\n
File Format Outer:
<?xml version="1.0" encoding="UTF-8"?>\n<TextureAtlas imagePath="@TexName">\n@loop</TextureAtlas>
Basically, my settings say that I don’t want to pad the texture sheet out to be square or a power of two in size. I also set the XML content to contain specific variables like the frameWidth and frameHeight that is helpful in defining the frame sizes in-game.
There are explanations on these fields in ShoeBox’s Help
Automation
I was working on a game for a Game Jam that used a LOT of Icons of different sizes in the game.
In the game, I had an Icon class which would simply use the sprite-sheet for the correct size and set animation.frameName = iconName; to display any of the icons I wanted to show at a given time.
I used a site called Game-icons.net to find and download the icons, and then I needed to generate 4 different sizes of every icon, and create a texture pack for each group of icon sizes.
It very quickly became a chore when I wanted to add new icons to the game. So to simplify things, I turned to automation.
First, instead of trying to download each icon in 4 different sizes, I simply downloaded the SVG of each icon, and put them into a single folder.
I created a Photoshop action (outside the scope of this tutorial) that went through each SVG in that folder, resized them to my 4 sizes (32, 64, 72, 128 pixels), and exported them as PNGs into the folder for that size.
So in my icons/32, icons/64, icons/72, and icons/128 there would be a file named “fish.png” that was based on the same SVG but a different size. (It might have also worked to just put all the icons in one folder, and name them fish-32.png etc, but I had my reasons. YMMV)
Now, I have 4 folders, each with the same 150+ icons with the same names, but different sizes. Thankfully, ShoeBox has a command-line interface. So the next step was to make a BAT file to pack these images and put them into my game’s assets.
Here’s how it worked for one of the sizes:
@ECHO OFF
TITLE "Packing Icons..."

ECHO "Packing Size 128"

START /B /WAIT CMD /C ""E:\Program Files (x86)\ShoeBox\ShoeBox.exe" "plugin=shoebox.plugin.spriteSheet::PluginCreateSpriteSheet" "files=path\to\my\128-size-folder" "renderDebugLayer=false" "texPowerOfTwo=false" "fileName=icons-128.xml" "useCssOverHack=false" "texPadding=1" "animationNameIds=@name_####" "scale=1" "fileGenerate2xSize=false" "animationMaxFrames=1000" "animationFrameIdStart=0" "texMaxSize=2048" "texCropAlpha=true" "texExtrudeSize=0" "texSquare=false" fileFormatLoop="\t^<SubTexture name=\"@ID\"\tx=\"@x\"\ty=\"@y\"\twidth=\"@w\"\theight=\"@h\" frameX=\"-@fx\" frameY=\"-@fy\" frameWidth=\"@fw\" frameHeight=\"@fh\"/^>\n""

IF %ERRORLEVEL% GTR 0 EXIT /B %ERRORLEVEL%

START /B MOVE /Y "path\to\my\128-size-folder\icons-128.*" "path\to\my\project\assets\images"

IF %ERRORLEVEL% GTR 0 EXIT /B %ERRORLEVEL%
The gist of this script is that it calls the ShoeBox executable and tells it to run the PluginCreateSpriteSheet plugin, and you pass all the settings to it.
I believe the bare minimum requirements are to pass the plugin and files variables, and anything else it will use your settings for, but just-in-case I changed my setting later on, I wanted to make sure my script would still work in the future.
After it calls the ShoeBox.exe if there were no errors, it will move the created file to my project path - and if that didn’t error, it can continue with the rest of the script - in my case, I repeat this process for the other 3 icon folders.
Now, if I want to add 20 new icons to my game, I just need to download their SVGs from the website, run my PS action, and then run my BAT file and everything would be ready to go in a fraction of the time it would have taken me to do it by hand.
Obviously, this is just a very specific example, but you should be able to use this as a base to automate your own asset pipelines.
Conclusion
Hopefully this little explanation can help you with your game projects. Let me know if you have any questions, or if this was useful to you at all! I’m SeiferTim on Discord or you can email me at tim@axolstudio.com
Example sprites are from Kenney
